Holiday Baking Month: Beginners Tiered Cake
Prep time: 10 minutes Bake Time: 45 Decoration: variable
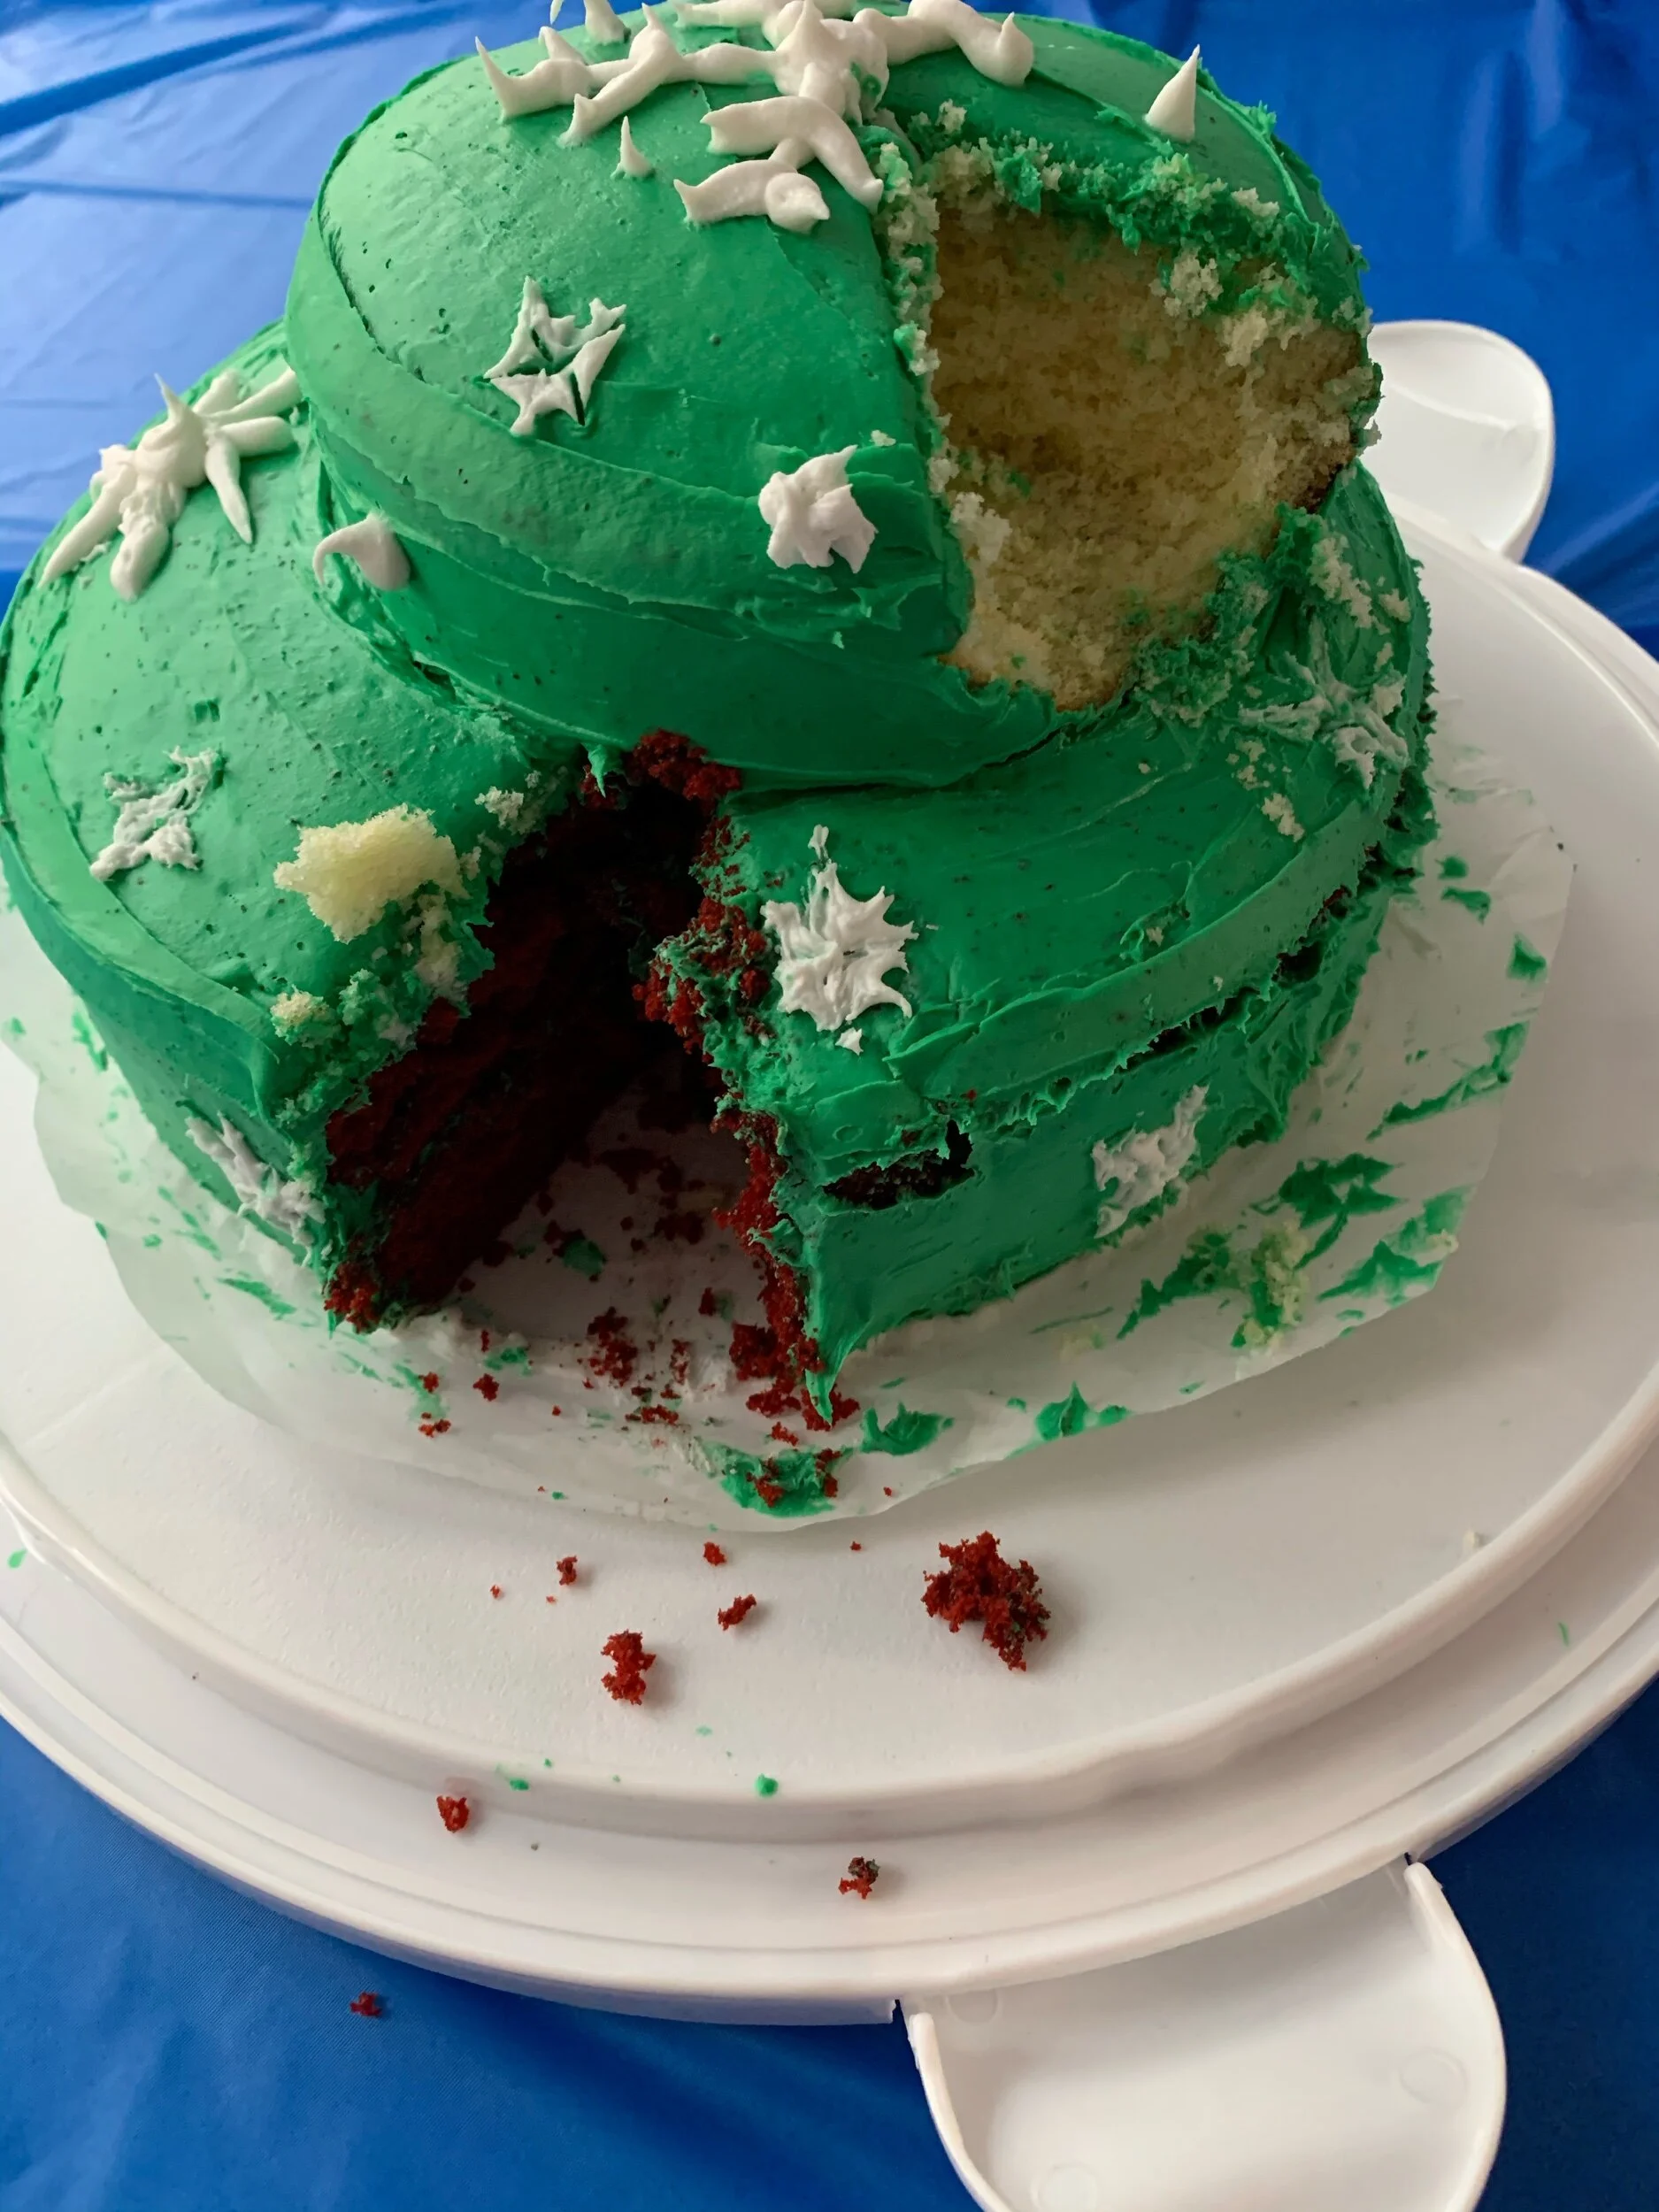
I wanted to slowly work my way into a new version of cake: the tiered cake. I want to get that towering stack of cakes with fun decorations. I don’t own any supports and so I came up with a simple and lightweight version of this. This was fun and still has held up a couple days later.
Ingredients
1 box red velvet mix (or whatever flavor you want)
1 box golden mix (or whatever you want)
6 eggs (or however your boxes together require)
Icing and decorations
Prep
Cool all cake parts on a wiring rack.
The cooler the cake and the warmer the frosting, the easier it will be to cover.
Preheat oven to 350 F
Follow the box instructions to make the flavor you want your base to be
Bake using 2 round 9 in pans (or honestly if you want crazy shapes, go wild. I did a round normal base with a smaller top so hey. Do what moves you.)
While baking, mix the second box
Add about 1/4 to 1/3rd of the mix to a 5 inch pan
Bake for at least half time since it will need less time
Let all cakes cool completely
Start stacking the base cakes with icing between or as desired
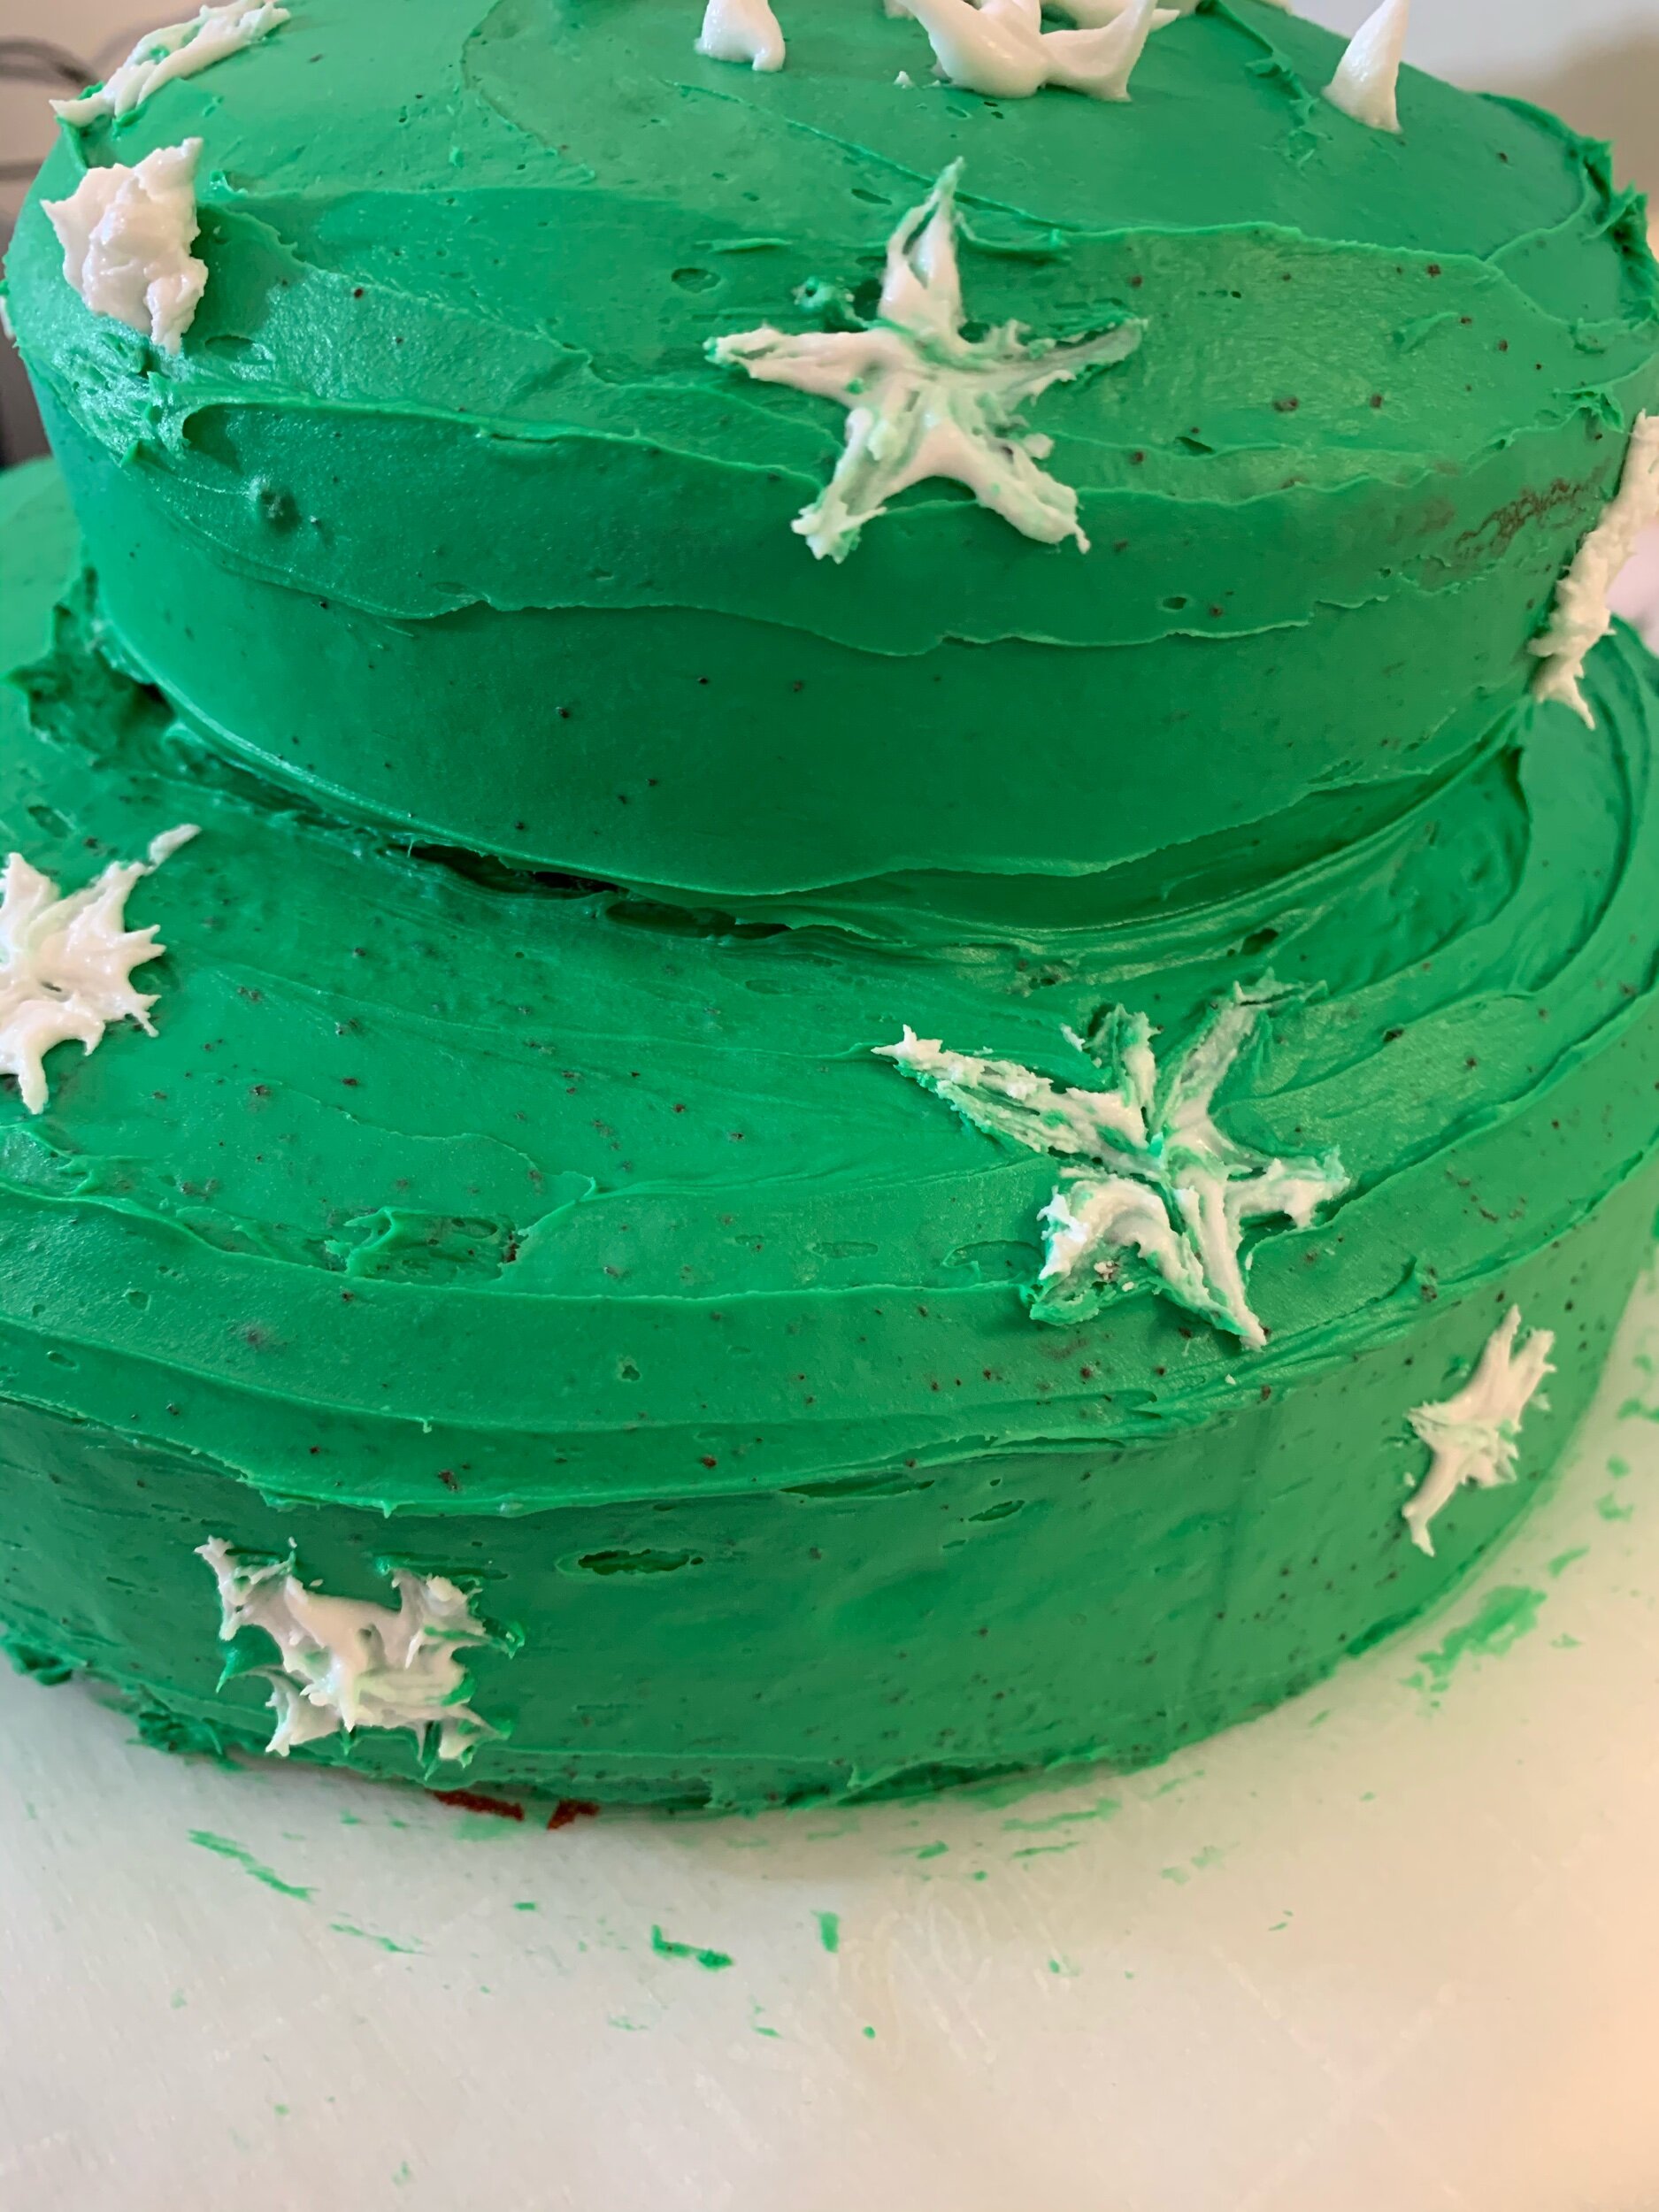
Add the smaller cake to the top. I moved it off center for a little personality
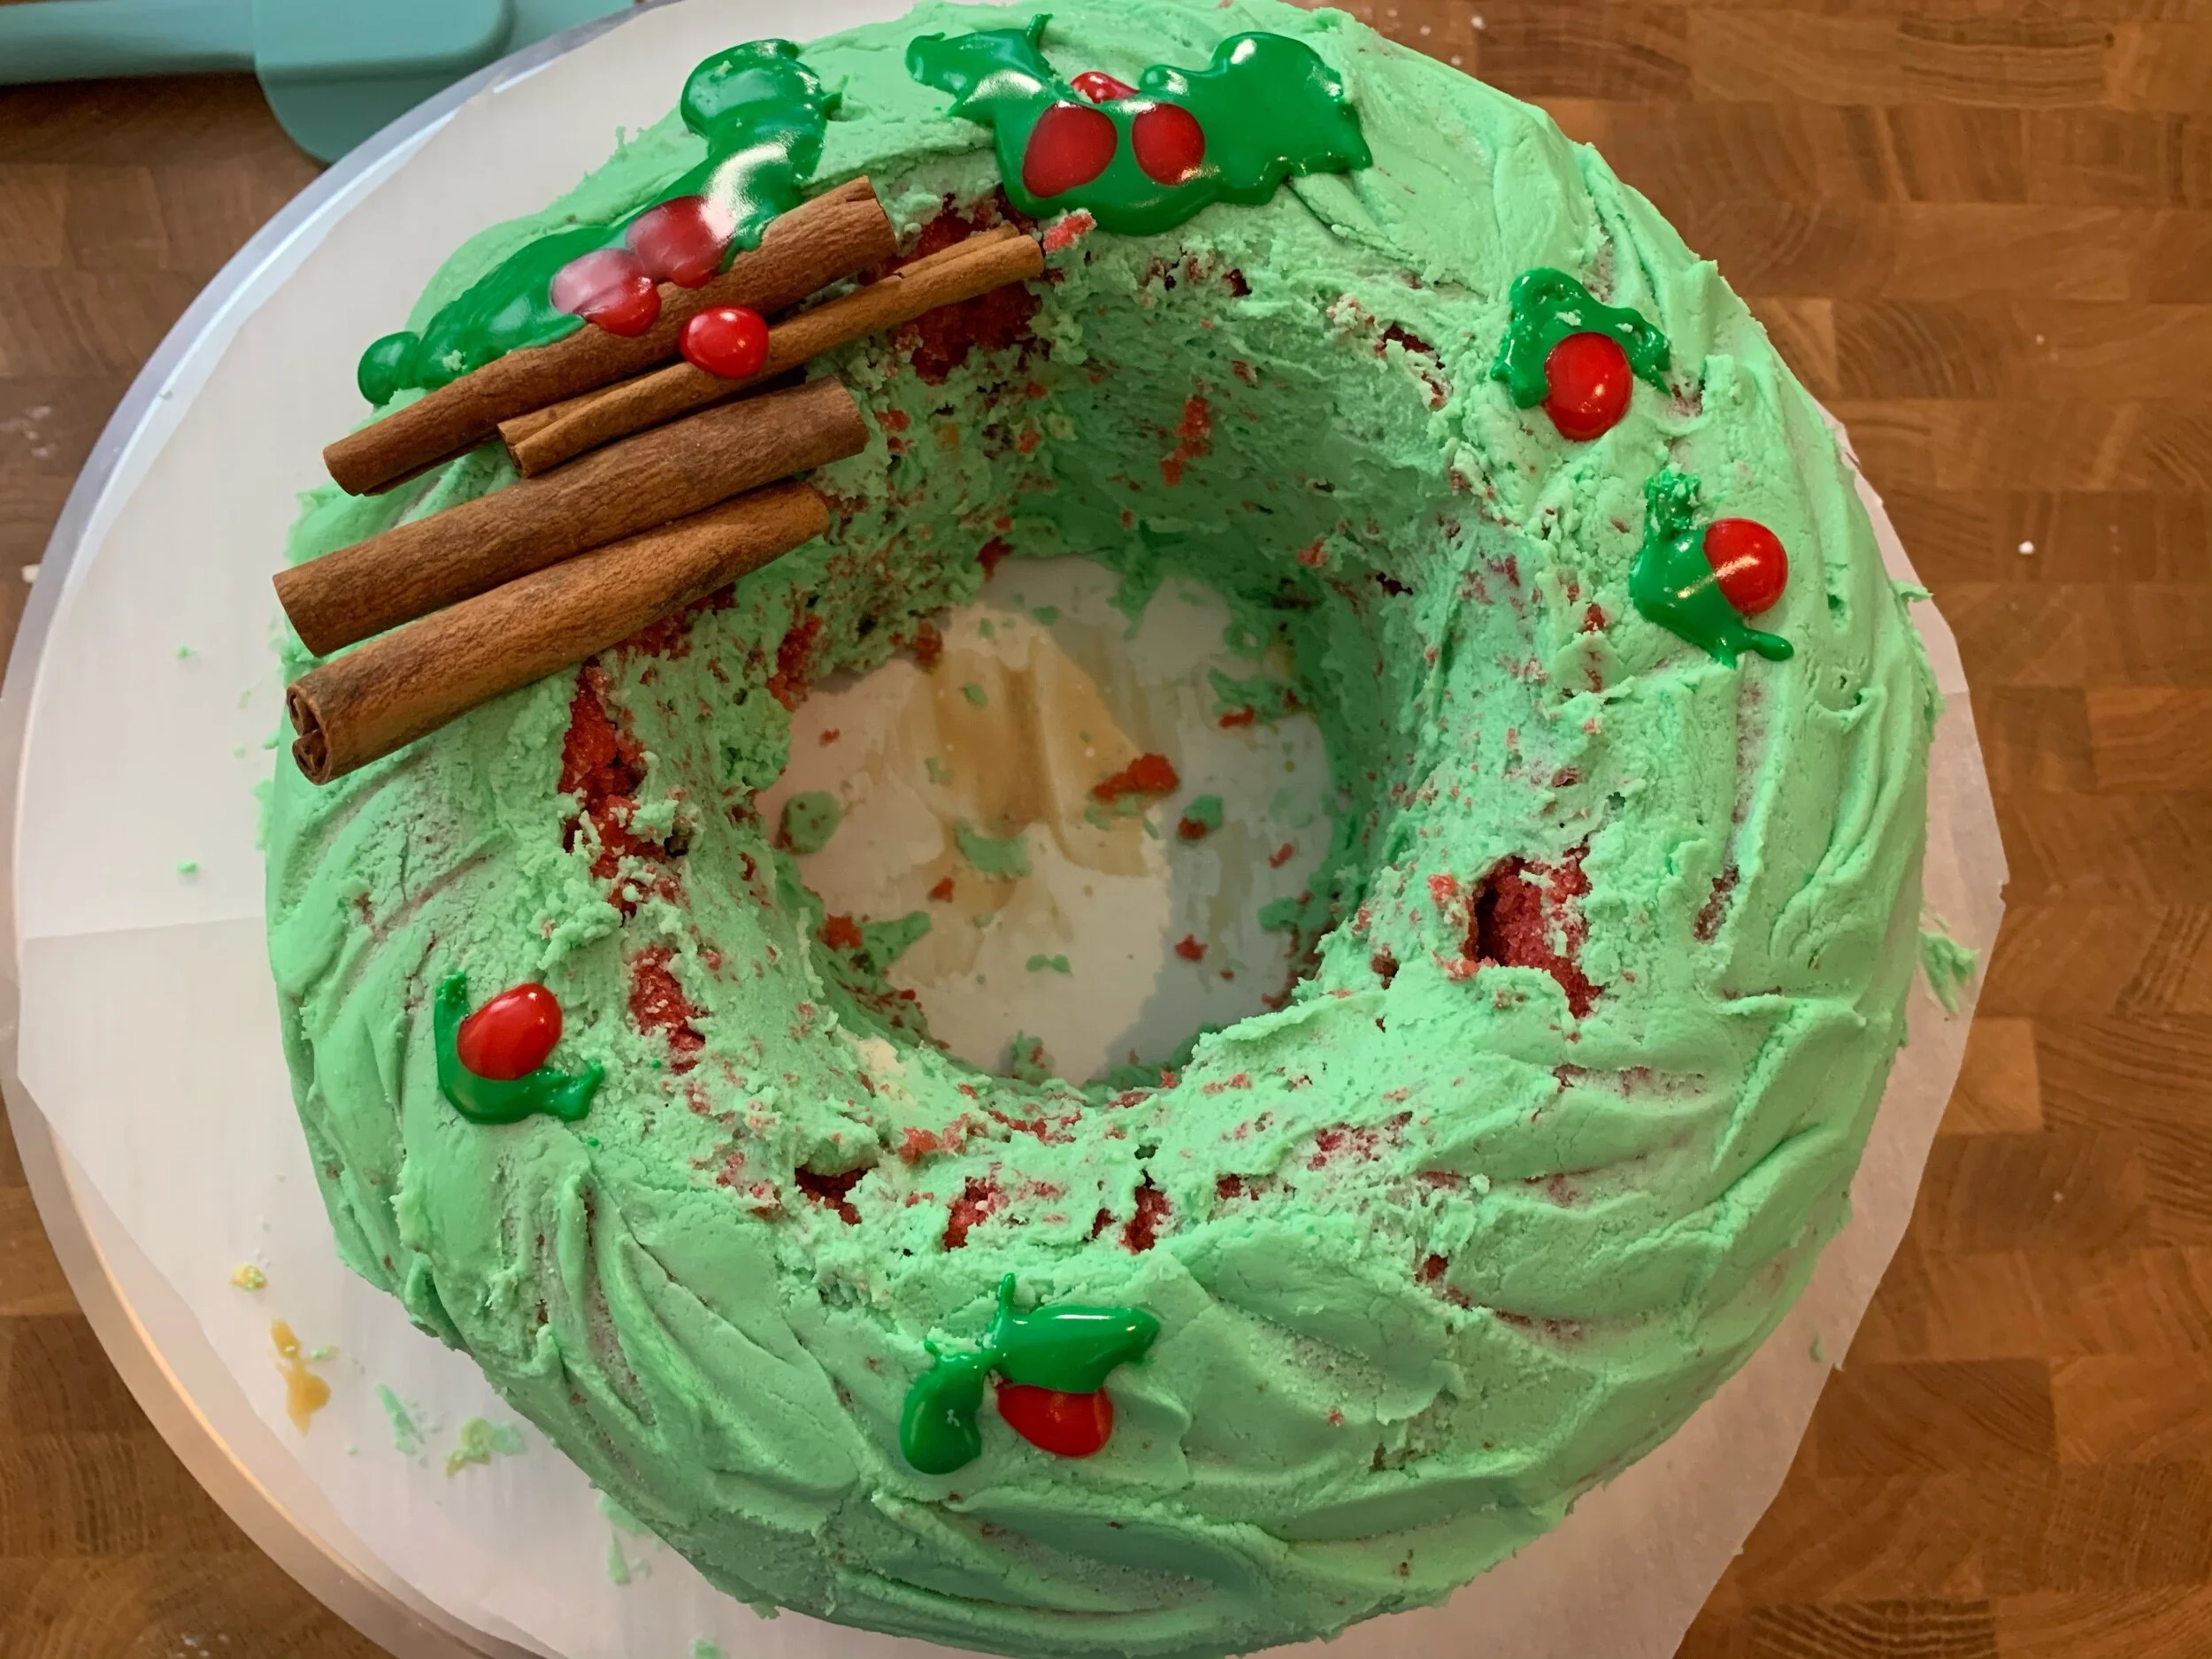
Decorate as desired. I coated in a green vanilla icing and used an icing gun to make snowflakes for the season.
Afterthoughts
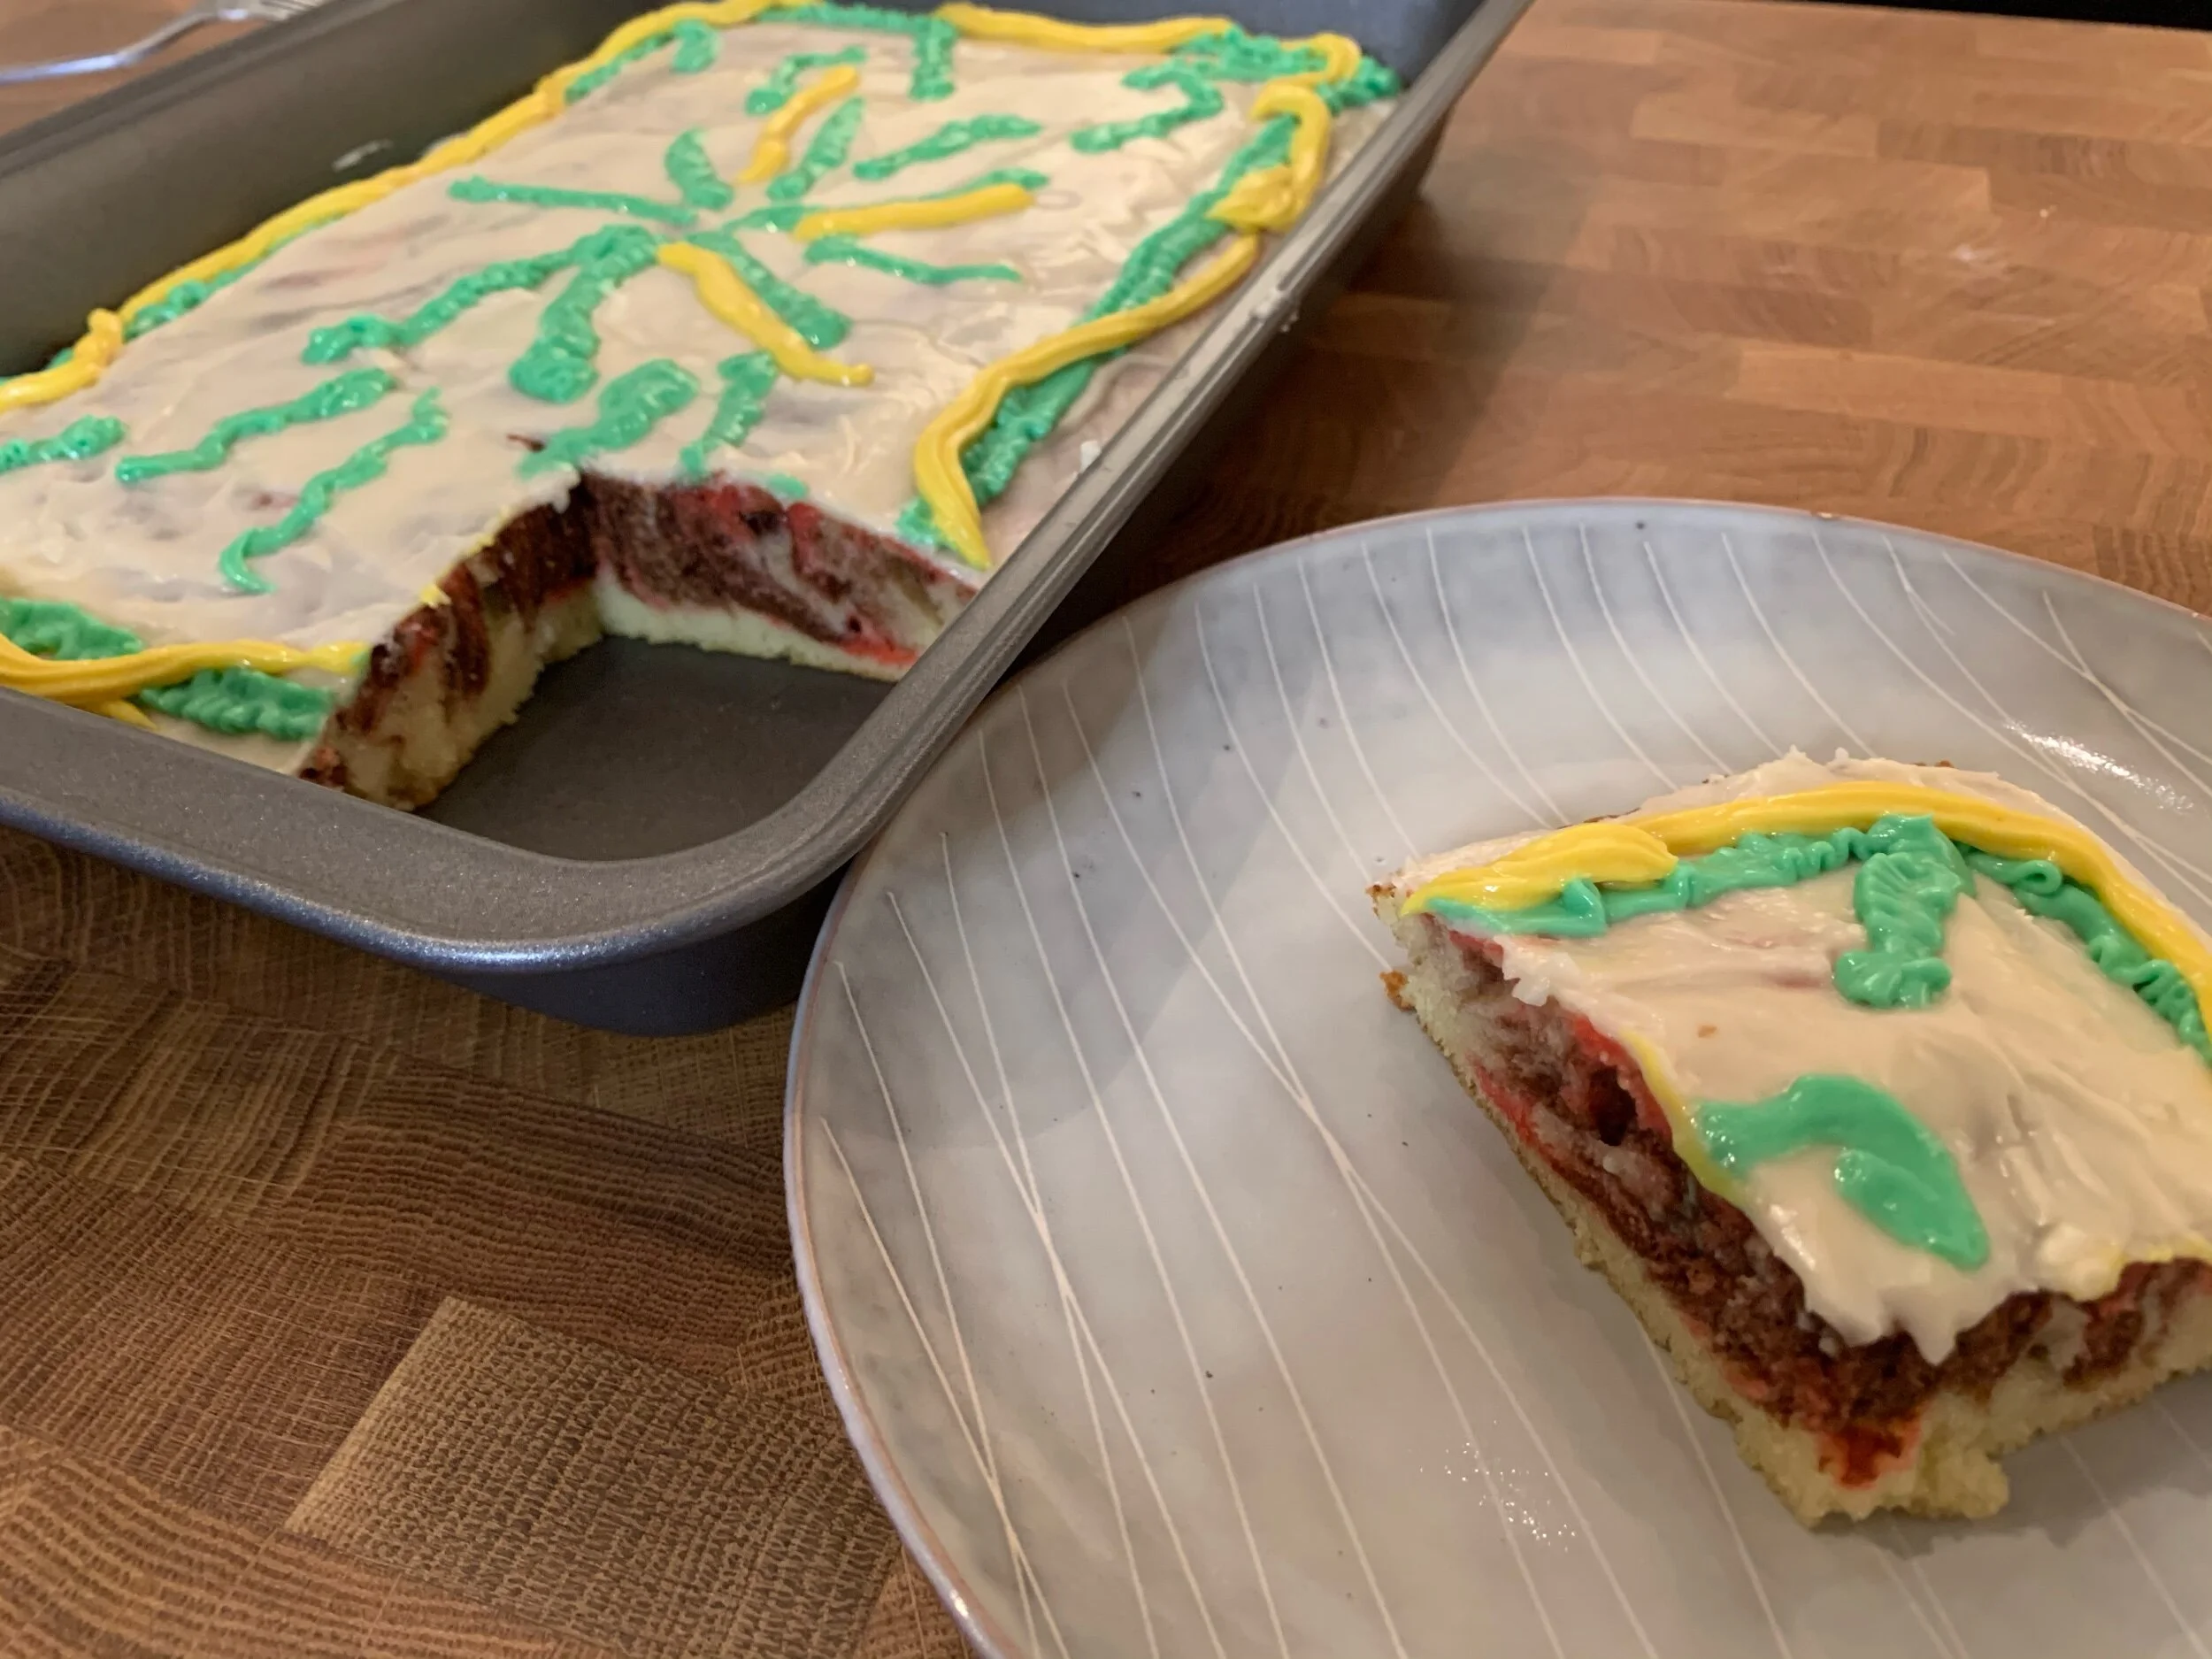
I loved it. The smaller cake was light enough that a normal bake base was able to hold it up without buckling under the weight. The taste was great, but since it was just box mixes, I’m not surprised. The difference in flavors was a lot of fun. The red velvet went great with the green to make a festive feel. We had a lot of fun cutting in to see the different flavors and trying to serve! A super easy and fast way to make a tiered cake. It may not have a whole lot of flash but it was still enough to impress and tasted great.


